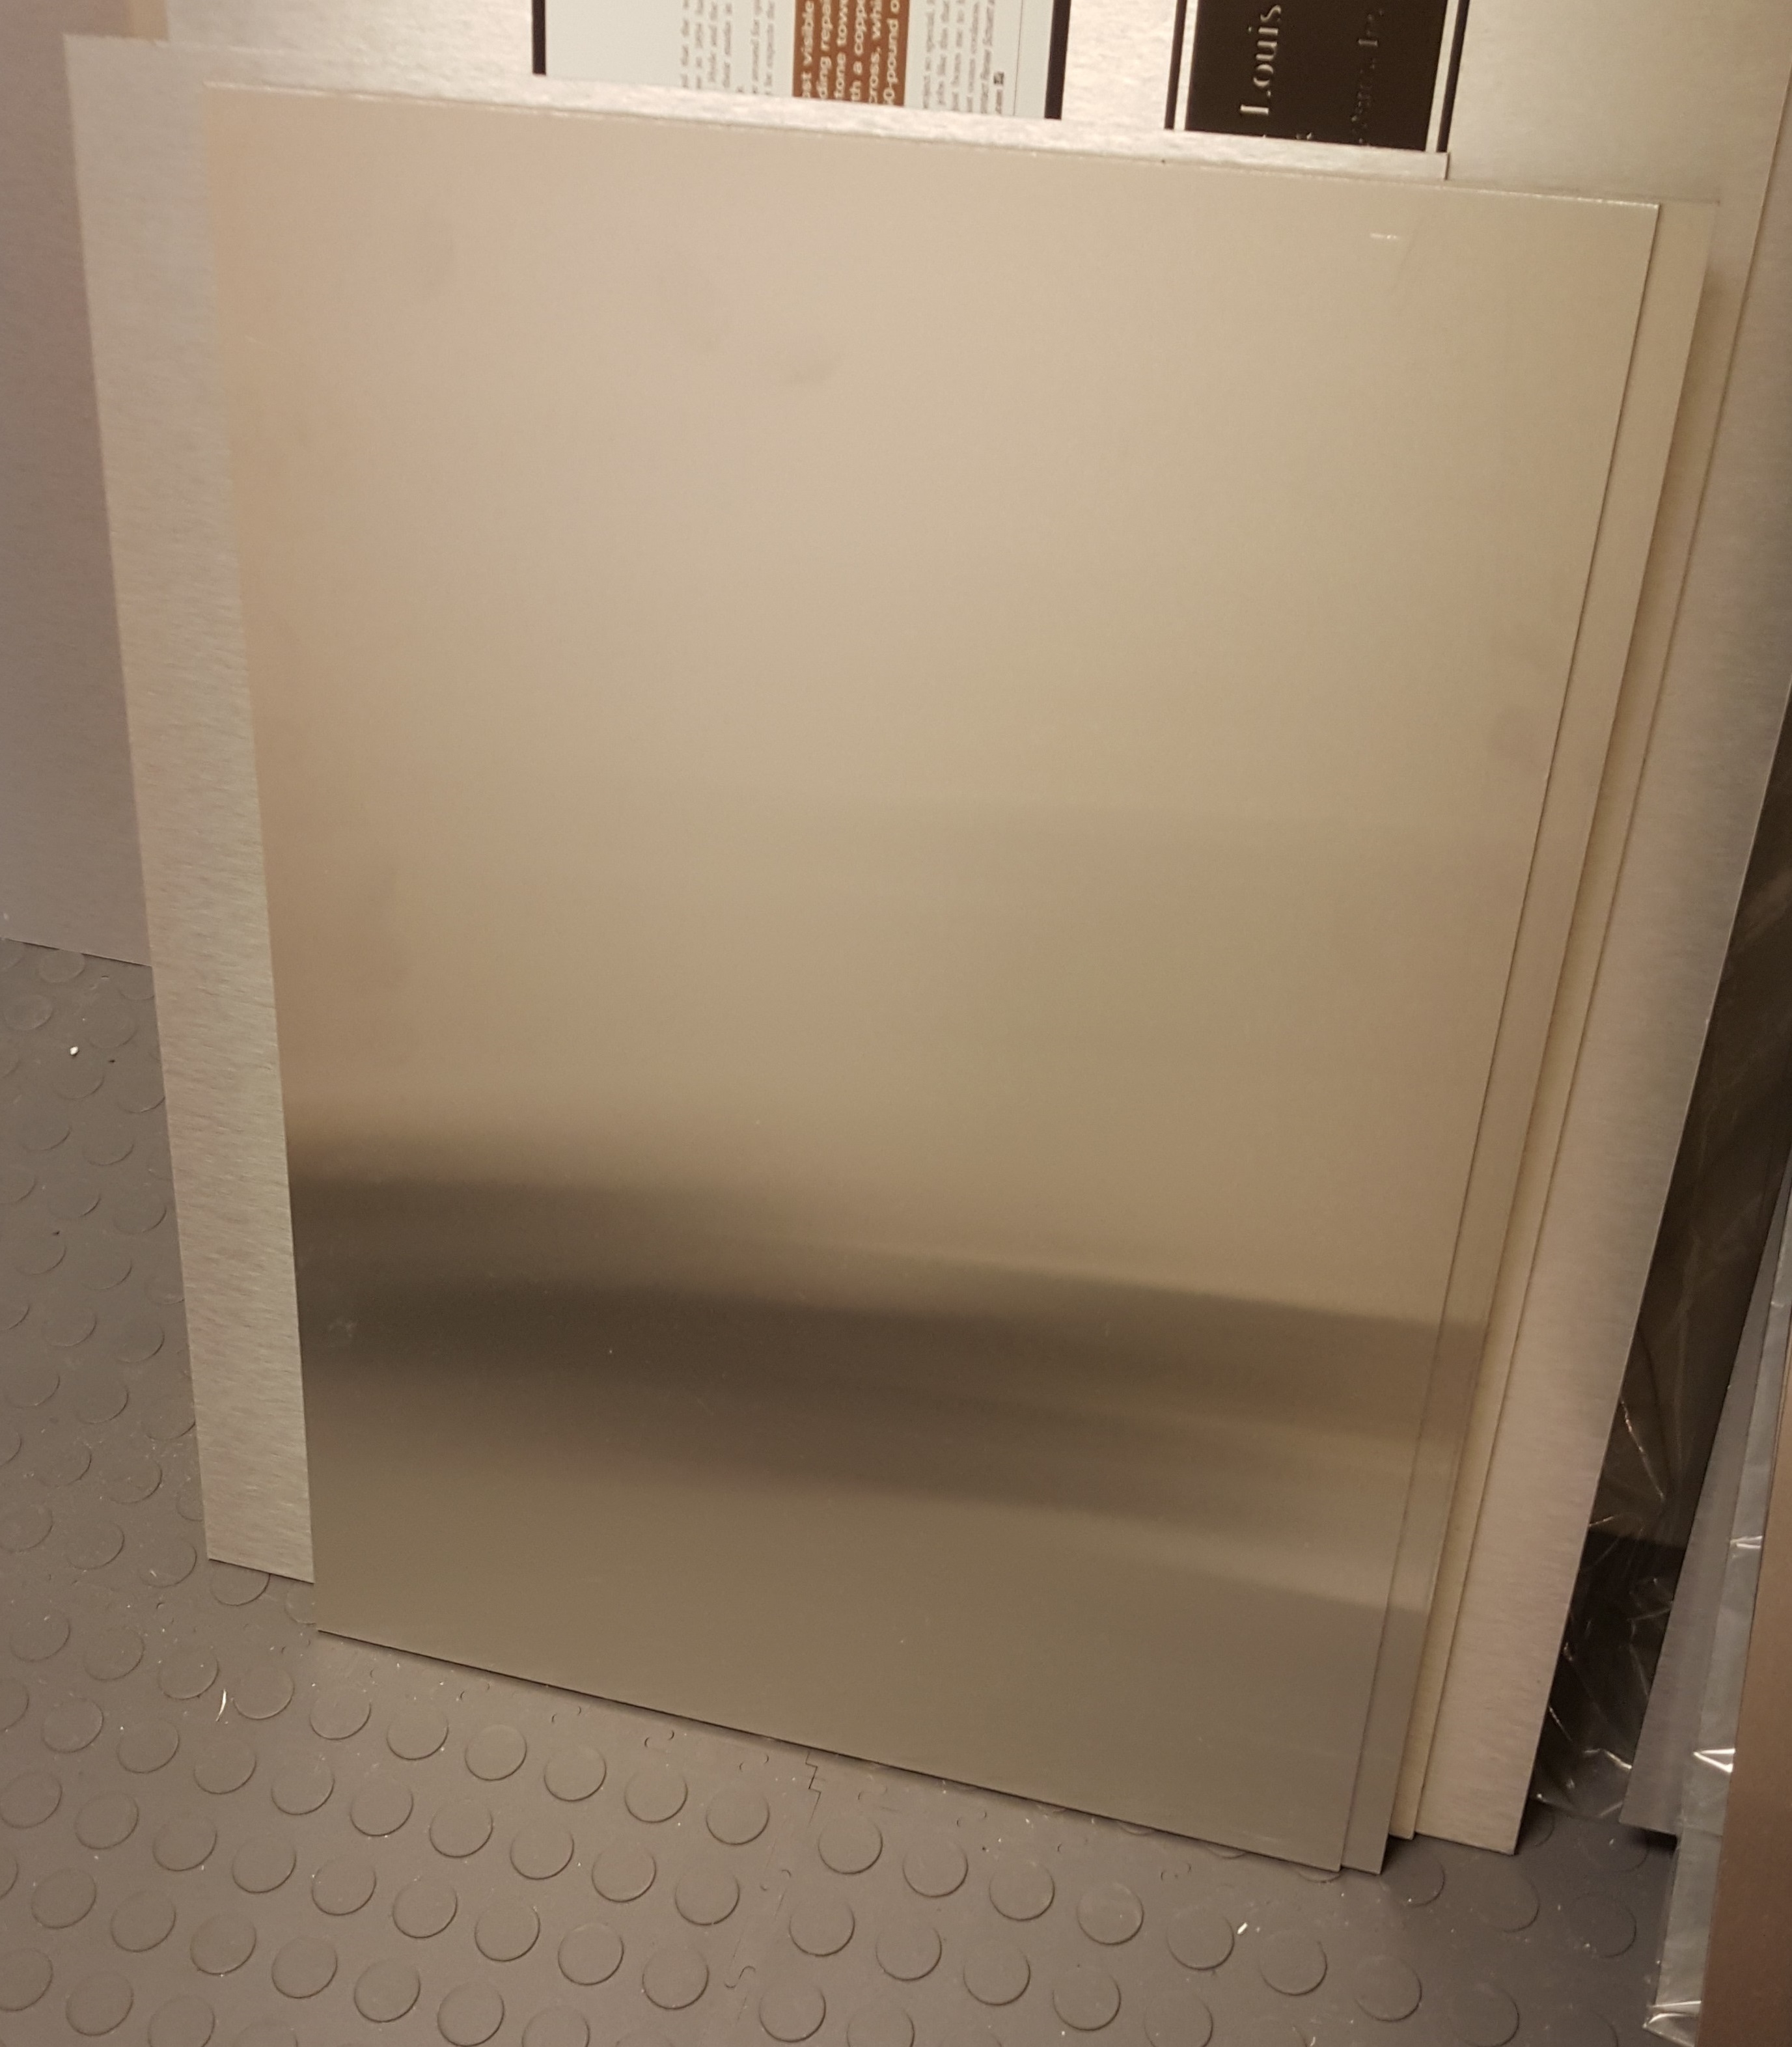
Our new metal plaques that we have recently introduced have taken off in popularity. Now we’ll provide a behind-the-scenes look at how we make them!
Pre Printing
Once all artwork is approved by our graphics team, it is sent down to our production department. Production then cuts the metal into the appropriate sizes as “blanks”. Multiple blanks are then put on the printer and the program is prepared to start printing
Printing
Once the blanks are loaded onto the printer and the graphics are ready, printing begins. Everything is printed directly onto the plaque and printing only takes a few minutes!
Once printing is completed, each plaque is identified by their sales order and taken off the printer and inspected to make sure that there are no imperfections with the printing or metal.
Mounting Assembly
Once the plaques are printed and inspected, the mounting hardware is assembled and attached. The plaque is hand measured to ensure that the mounting hardware is assembled evenly and then attached to the back of the plaque. Once the mounts are all secured, a Customer Id badge is attached and the Customer ID number is hand written on the badge. (If you ever need to contact us but are not sure what your Customer ID is, just check the back of your plaque!)
Packaging
Once the plaque is completely assembled it needs to be packaged for shipment. First, the plaque is put inside protective plastic sheeting to protect it from scratches during transit. Next, all four corners of the plaque are covered with protective cardboard borders to protect the plaque and packaging during shipping. The plaque is then placed inside the package for shipping along with the sales order and sent off to ship.
Our new metal plaques are the perfect solution for a new sleek, professional way to display your press, pictures, or company logo.
Check out our Facebook page to see some of the stunning plaques we have made for our customers
Click below to see a preview of your very own plaque!
